 Zoe Connell
 727
727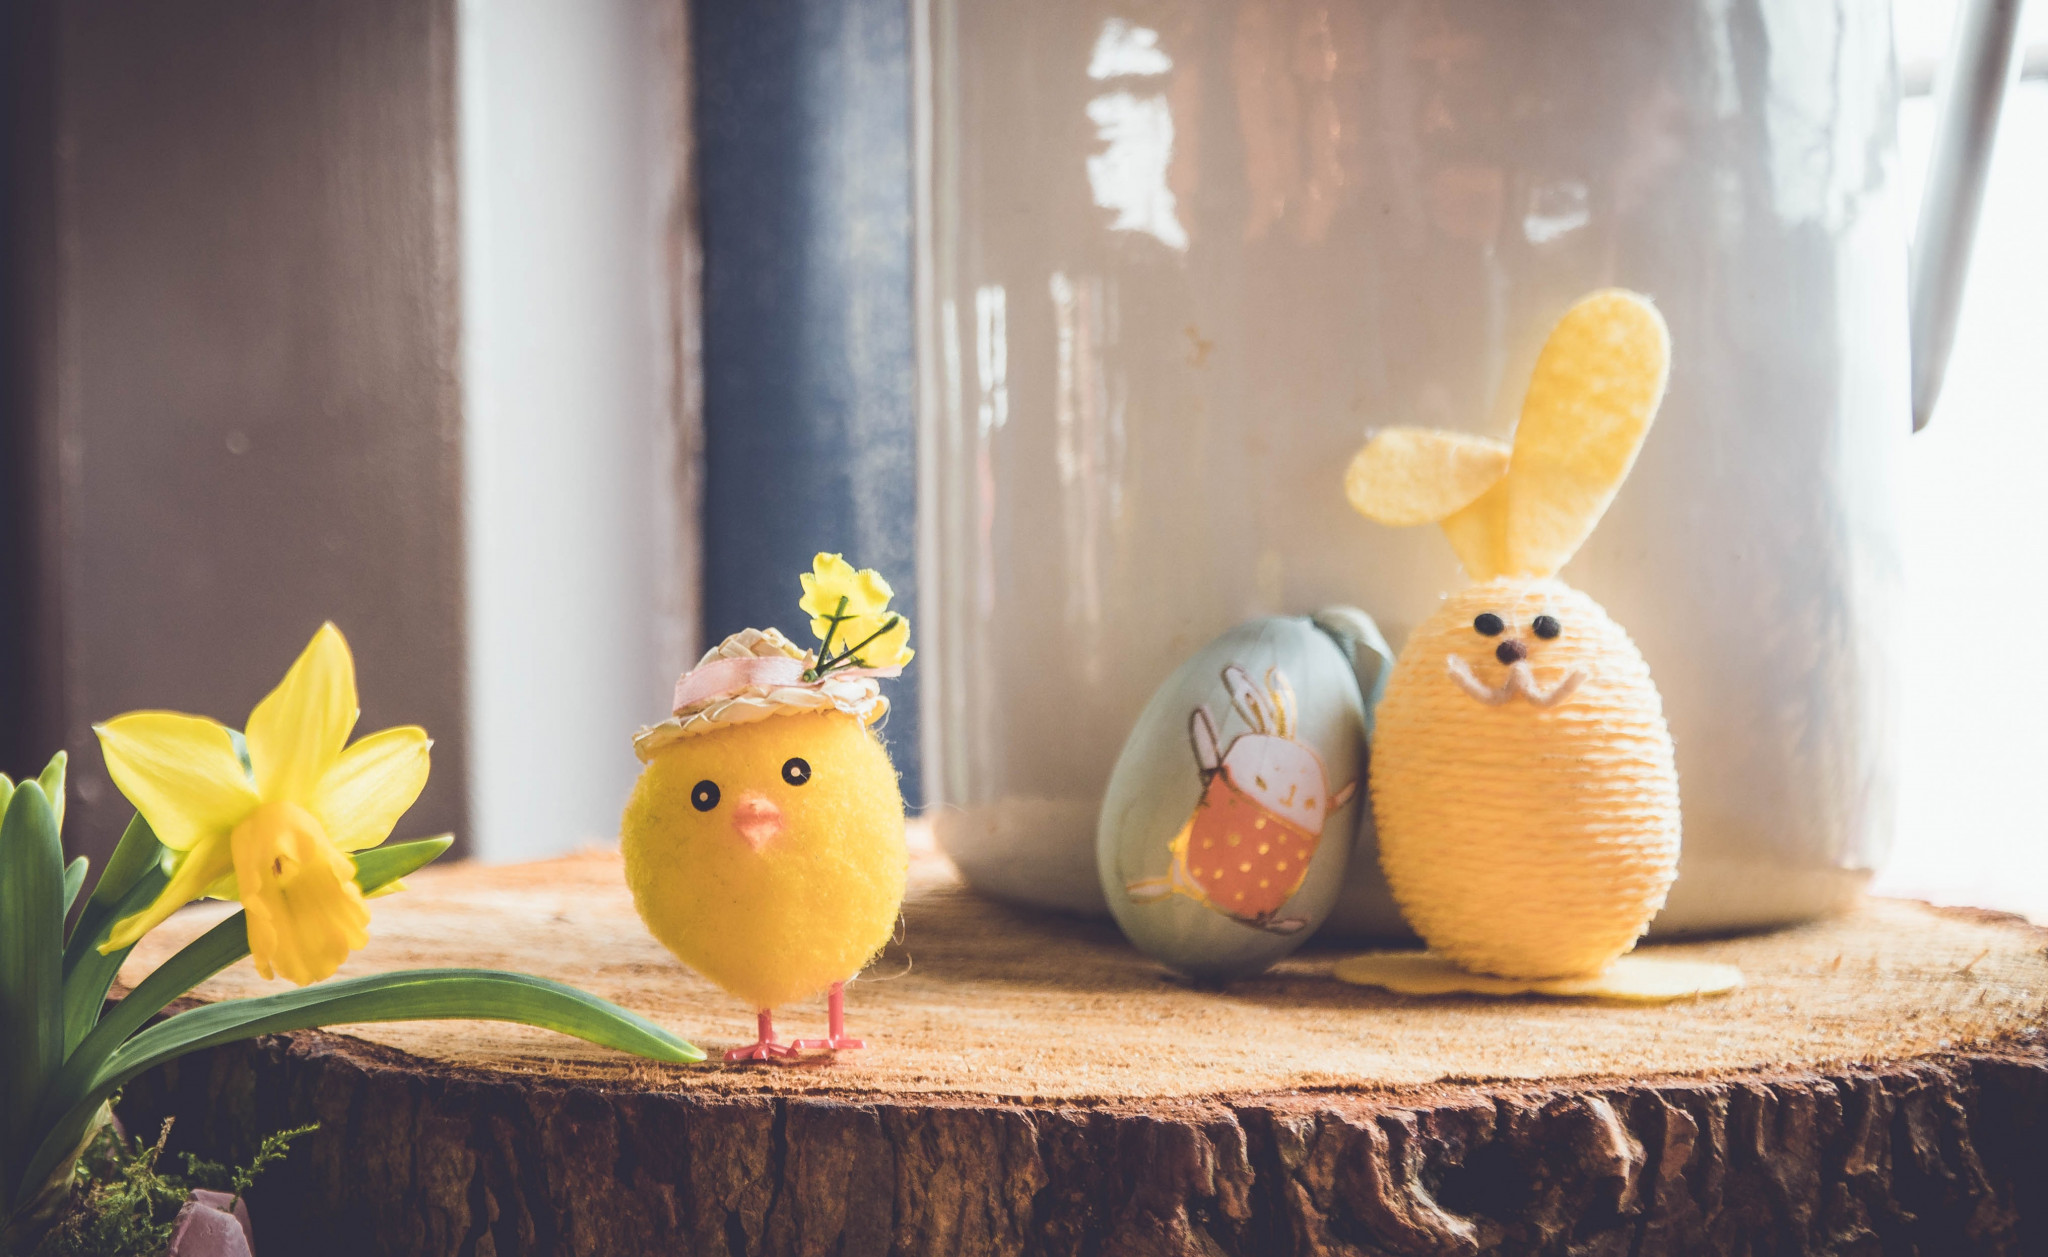
While we can’t bring you any of our events, we’ve come up with a few ways to introduce a bit of colour and creativity into your time at home. These activities are all designed to be fun and silly and none of them require special materials. There’s something for a range of ages, to hopefully suit you and everyone might be isolating with. You can try some of them out over the Easter weekend!
Over the next few weeks, we’ll give you some more suggestions for activities and our next instalment will look at animation! Anifest has launched a competition called Animation in Isolation. Everyone is welcome to enter and if you’ve never even thought about making an animation, we’ll give you some easy ways to start.
Please share all your creations with us on Instagram (@cccu_artsandculture) or Twitter (@cccu_culture)! We look forward to seeing them.
DIY glue
This simple glue will come in useful for a variety of projects if you can’t get hold of any craft glue. It is good for papier mâché, collage and other paper craft. Assuming you can find flour, of course… Store any leftover glue in a covered container in the fridge and use within a couple of days.
- Mix one cup of flour with one cup of water until you get a thick PVA glue-like consistency. Add more water if it’s too thick, add more flour if it’s too runny. Adapt it to your needs.
- Mix well with a spoon or fork to get rid of all the lumps. If you find you are getting lumps, you can use a small kitchen electric mixer to whizz them out.
- Add a few tablespoons of salt to the final mixture to help prevent mould and mix well.
Papier mâché Easter eggs
This craft is suitable for all ages, though younger children will need supervision (and a bit of help!).This is an easy project to do over a couple of days in little sessions so great for short attention spans!
You will need:
- strips of newspaper/magazine/tissue
- watered down glue: PVA, or make your own (see above)
- mixing bowl
- balloon, inflated
- Dip the strips of paper in the glue mixture.
- Cover your balloon in 4 – 5 layers of papier mâché. Let it dry completely in between each layer.
- The final layer can be plain paper so it’s easier to paint/decorate. The best paper to use is thin, so it absorbs lots of glue, like kitchen paper.
- Once completely dry, decorate it! You could use any art materials you have at home, or try one of the following:
- Collaged pictures from magazines (stuck on with the same glue mixture as before)
- Homemade dyes: mix spices (turmeric works well) with water, or boil vegetables (red cabbage, spinach and beetroot work well) in a little water. You can still eat the vegetables afterwards!
- Flowers and greenery from the garden – use it has a table centre for Easter Sunday!
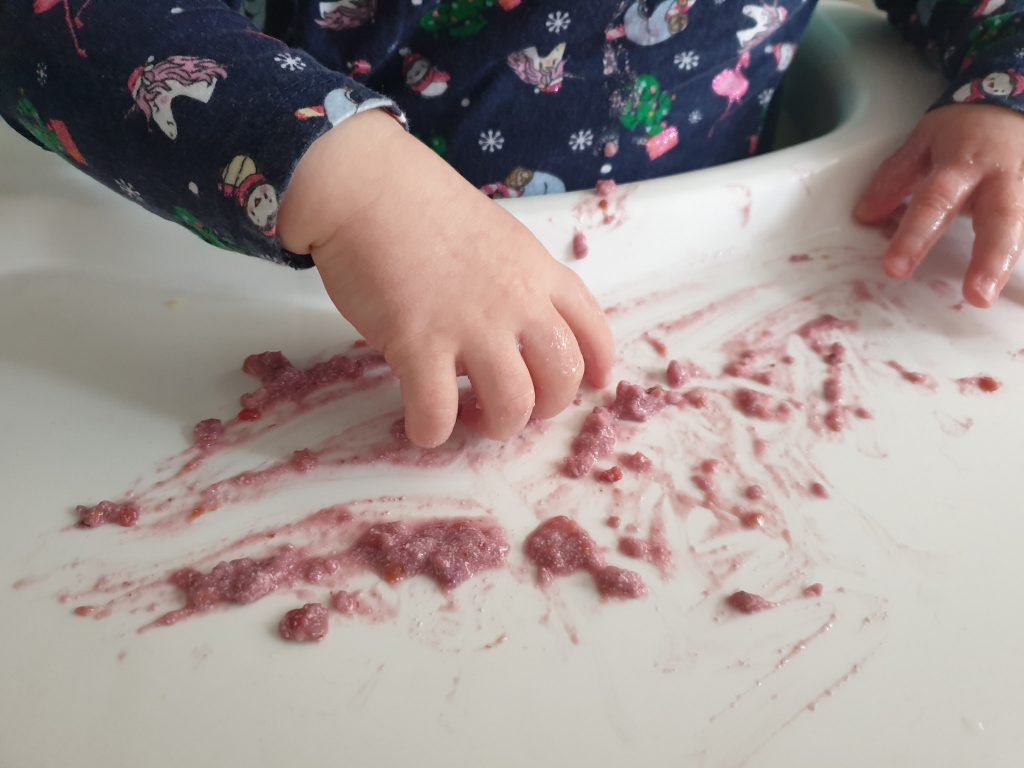
Edible easter egg art for babies and toddlers (sitting in a high chair, from approx. 6 months)
This is suitable for all little ones that are still putting everything in their mouth. It’s a great sensory experience for babies to play with their food, it teaches them a lot and you can be sure none of the food you use will be ‘wasted’. Smaller babies could play with the smoother foods (i.e. yoghurt and mashed banana) during tummy time; lay them on a plastic sheet, or on a tiled floor, for easy clean up.
- Dress your child in clothes you don’t mind getting messy, or strip them down to their nappy if it’s warm.
- Sit them somewhere where you can contain the mess: the highchair is ideal, or the bath or in the garden.
- Find some good ‘messy’ foods. You can add a very small amount of food colouring, or berries, to liven it up, or just use the natural colours. Obviously be aware of your baby’s allergies or intolerances, and choking hazards. Here are some ideas:
- Yoghurt
- Mashed potato or sweet potato
- Mashed/sliced banana
- Porridge/oatmeal
- Berries
- Baked beans
- Introduce the food/’paint’ to the tray of the highchair, or in a bowl or tray wherever you’ve decided to play, and let them explore the textures with their fingers. They will get messy, they may eat some. It’s a good time to schedule a bath!
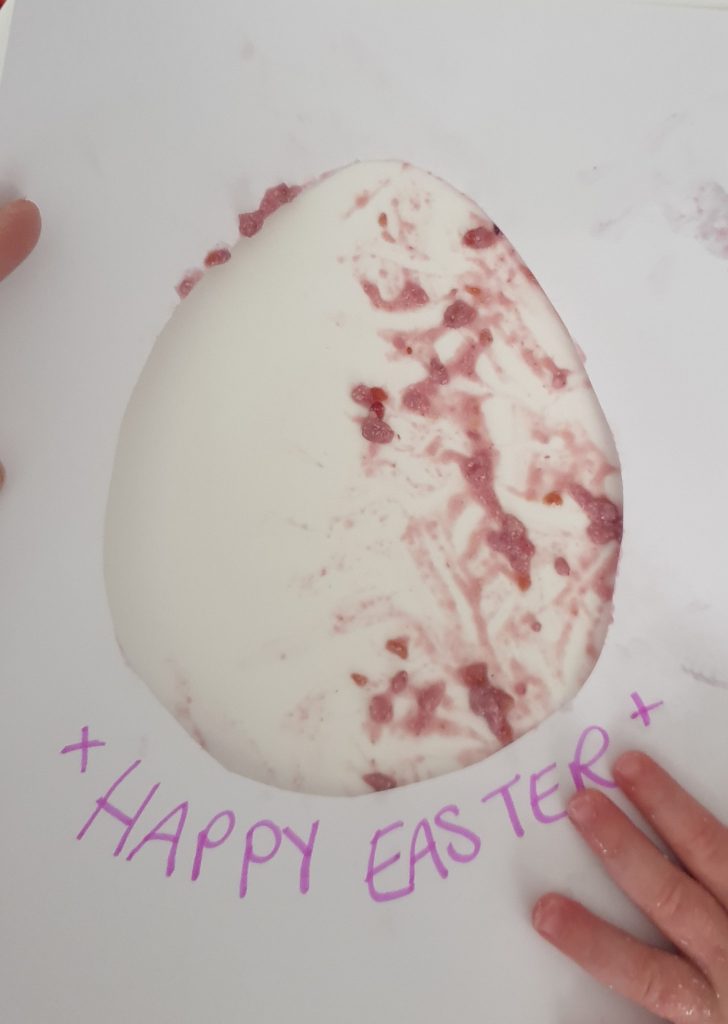
- Document their work:
- Either: Cut an egg-shaped hole in a piece of paper. You can write a message on the paper. Hold the egg-shaped frame over the ‘artwork’, and take a picture.
- Or: Cut out an egg shape from a piece of paper and press it into the artwork (baby can help with this!) Put the paper against a plain background and take a photo.
- Email the picture to family and friends, or post on social media, as a fun Easter greeting.
- Older children could do similar, but write their own messages, or use ‘normal’ art supplies.
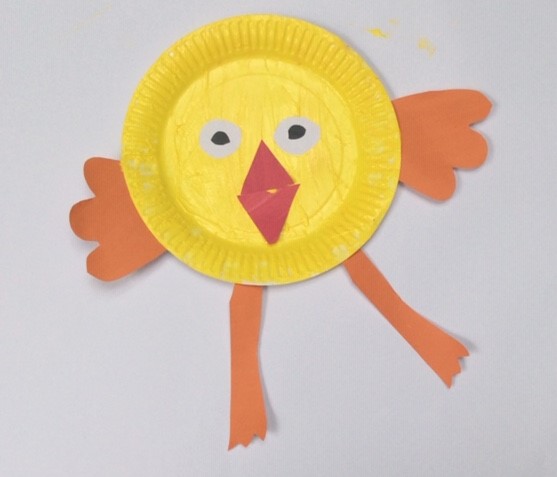
Paper plate Easter decorations
You will need:
- Paper plate or card (cut some circles from your recycling)
- Collage materials: cotton wool, tissue, wrapping paper, wallpaper, fabric, magazines
- Glue, homemade glue (see above) or tape
- Brush
- Scissors
- Use your materials to decorate your plate or card.
- Chick: Cut wings, a beak, and legs from paper or card. Stick on feathers, or cut feather shapes from paper or fabric. Paint some eyes, cut some out of white paper, or use googly eyes.
- Lamb: Use cotton wool or balls of tissue to make the lamb’s wool. Cut legs and a face from card. Draw/paint/stick features on the face.
- Rabbit: Cut ears and paws from paper or card. Design a face with a nose, teeth and whiskers.
- Egg: Cut or paint pretty repeating patterns for your egg. You could trim the plate/circle into an egg shape. Use finger painting to make a multicoloured spotty pattern.
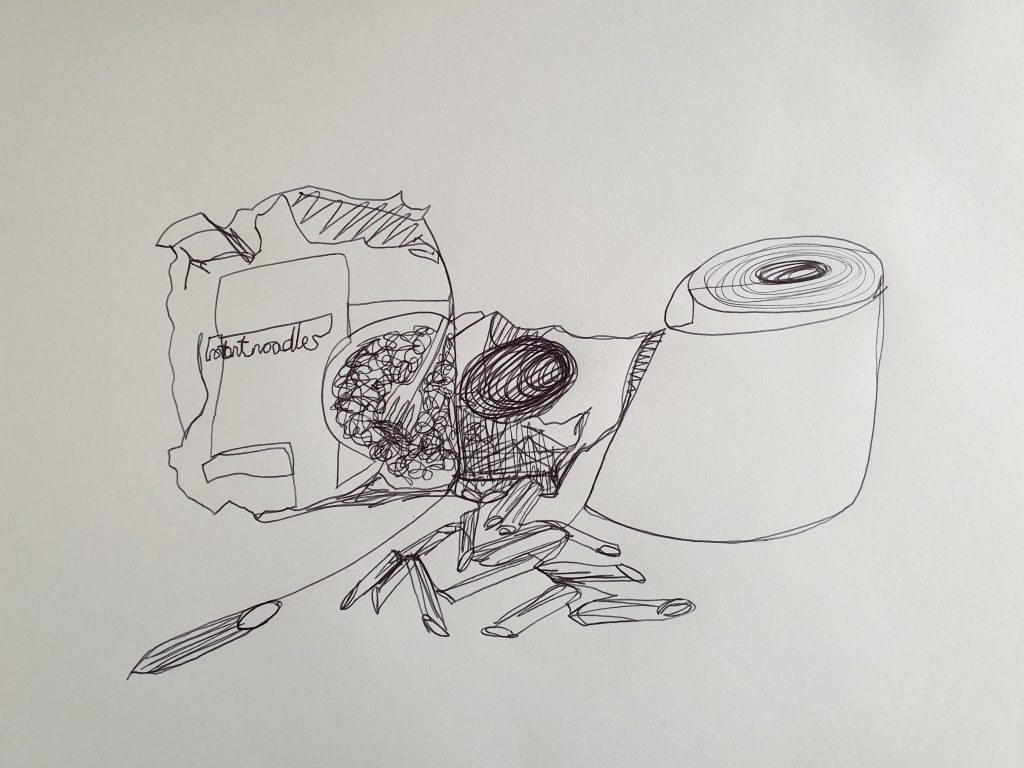
Contour drawing/continuous line
- Choose a small selection of objects (3 or 4) from around the house. Pick items with an Easter/spring theme and place them in a pleasing arrangement, or maybe you can arrange them in an egg or cross shape.
- Take one sheet of paper. A4 will do but the larger the better. The inside of a cereal box would work.
- Choose a drawing implement. A biro would do. Or a marker pen, if you’re using card. Or a good old fashioned pencil. You’re not allowed to rub anything out so it doesn’t matter.
- Draw the objects in front of you without taking your pen off the paper. You can double-back over your lines. Try and plan ahead so you don’t get stuck in a corner!
- Be brave and just have a go!
Blog written by CCCU Arts and Culture


