 Zoe Connell
 669
669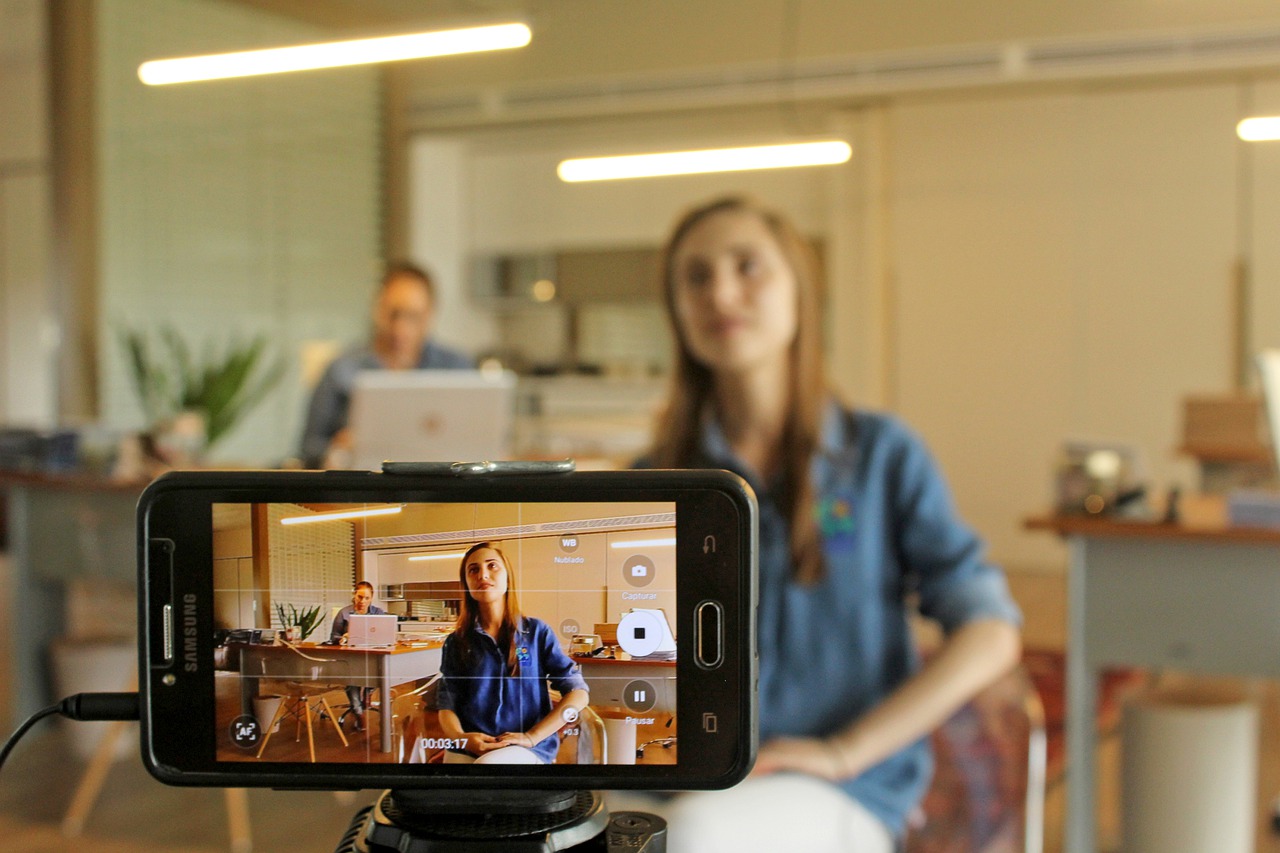
Have you ever wanted to be able to record professional-looking video using your smartphone? I know I always have. And last week I attended a free online session where I learnt some top tips to making your videos stand out and I thought I would share them with you today.
These tips aren’t all just for when you want to record video on your smartphone, but some can also be applied for recording from your webcam or any other type of camera.
Portrait or landscape?
When filming or taking pictures, you want to try to keep it landscape – unless there is an artistic reason not to. Think about it – when you see with your eyes it is in landscape. TV, laptop/computer screens are also usually in landscape. So, if possible, film in landscape – you can then always cut it down to portrait if you need to for social media. It just gives you that extra bit of flexibility.
Background and Environment
These say a lot about you on film. Do you want your background to be busy or messy? Well, you might if that’s the purpose of what you are filming. But, in most cases, you want your background to be clean and simple so the audience can focus on the main subject.
Lighting
Avoid back lighting by not sitting with your back to your light source or window.

Avoid front lighting by not sitting facing your light source or window. Also avoid harsh lighting (i.e. overhead lights/lamps without shades)
The ideal is to have side lighting – or ‘modelling light’ as this gives shape and depth to your face. You want to try to have soft, diffuse lighting.

Eye line
Don’t position the camera where you have to look down into it (unless, again, this is an intentional, artistic choice). Position the camera so it is level or slightly above your eye line. If you don’t have a stand, you could try propping your camera up on a stack of books, for example. But do remember to be safe and make sure your camera is secure so there is no risk of it falling.
Framing
Remember the rule of thirds. Don’t be in the direct centre of the frame, but in either the left or right third.


Focus
You want the focus to be on you or the object you are capturing. Most smartphone cameras will have auto-focus so, if you are not confident adjusting these settings manually, then leave that hard work up to the camera. But, as you gain confidence, do feel free to have a play around with this as you can get some really stunning results. For example, you can have object in the foreground slightly out of focus to give a sense of depth.

Exposure
This sounds very fancy and complicated. And yes, it is if you want to delve into it to really do justice to the subject. However, if you are a beginner, all you need to know is that exposure is the amount of light hitting the lens by the light intensity (aperture) and length of time (shutter speed). Again, a lot of smartphone cameras nowadays have auto settings for exposure so make sure these are turned on and keep an eye on these settings if you notice over or under exposure when setting up your frame.


Sound
Someone once told me that you only really notice audio if it’s bad. Whether you agree with this or not, it is important that you make sure to film in places with limited background noise and be mindful of outside traffic/airplanes. If you have a wireless mic, great! But don’t worry if not – try, if you can, to keep within 4-5 inches of where the camera’s microphone is. Play around with this though, as different devices have different settings, plus the acoustics of your environment and the way you speak/project your voice will influence the audio quality.
Move away from the script
This might feel really scary – and that’s ok! But try not to read from a script. Instead, have some bullet points written down as prompts. This will mean you will talk more naturally. Trust me – smartphone cameras are now sensitive enough to pick up your eye movements whilst reading.
If you need to, pause to look at your bullet points, then start your sentence. Pauses are fine because you can always edit them out later in post-production. Also, if you make a mistake, you don’t have to start over. Just pause and begin the sentence from scratch. The pause is important so there is a clear break for you to edit. And, it is always better to do several takes so you have as many options to choose from when refining your finished video.
Body Language
Keep it open – stay as relaxed as you can and use open gestures. But try to resist the temptation to be too energetic in your gestures as this may distract your audience. But some animation is great and really engaging. At the end of the day, however, the most important thing to to be relaxed and natural.
That’s a wrap people…
Zoe Connell, Orgnisational and People Development


