 Neil Dawson
 3379
3379
Box of Broadcasts, or BoB for short, is an online, on Demand TV and radio service for education. In part one of this blog we looked at what BoB is and how to use it to search for, request and watch online content. In this second part we look at how to create your own playlists and clips.
So how do I create my own playlist?
Bob lets you create your own playlist of programmes which you can either keep for yourself or share publicly. Here’s how to create your own..
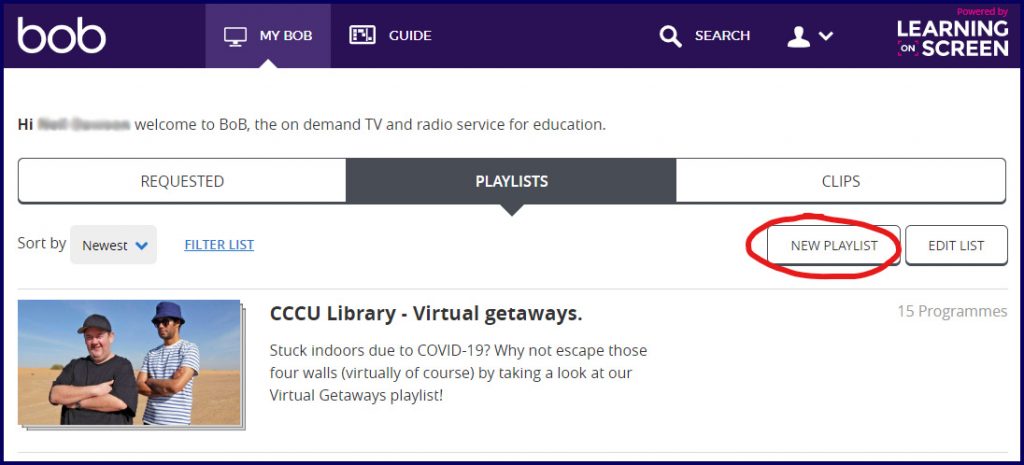
Simply go to your “Playlists” tab at the top of the screen.. and click on “New playlist”
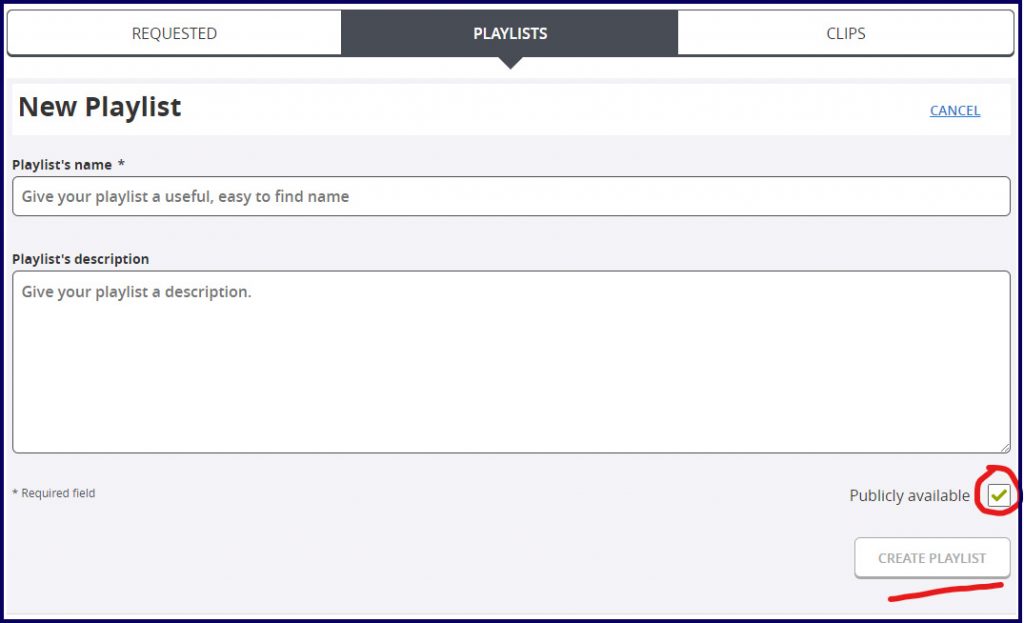
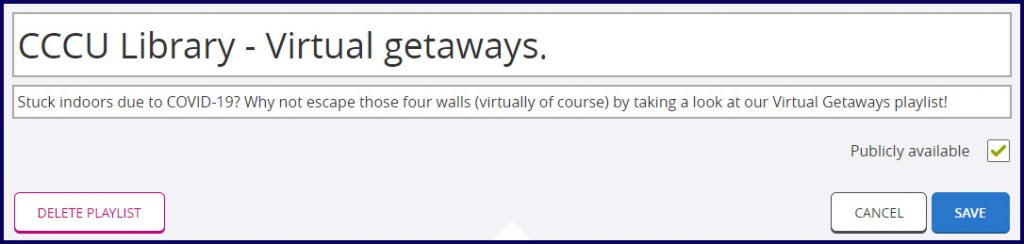
Give your playlist a suitable name and add a description if you wish, then tick the box at the bottom if you wish to make your playlist publicly available and searchable by others, then click on the “Create playlist” button, which remains greyed out until you name your list.
Once created, your list will appear in your “Playlists” tab.
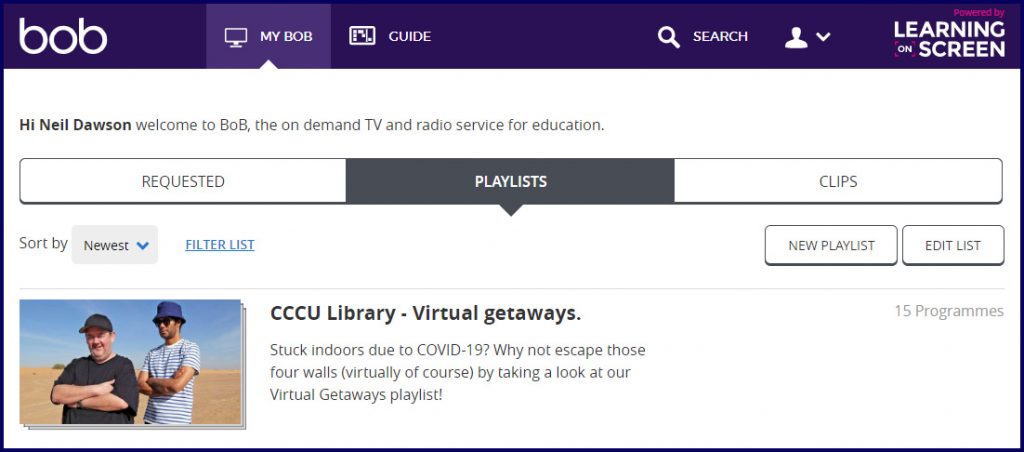
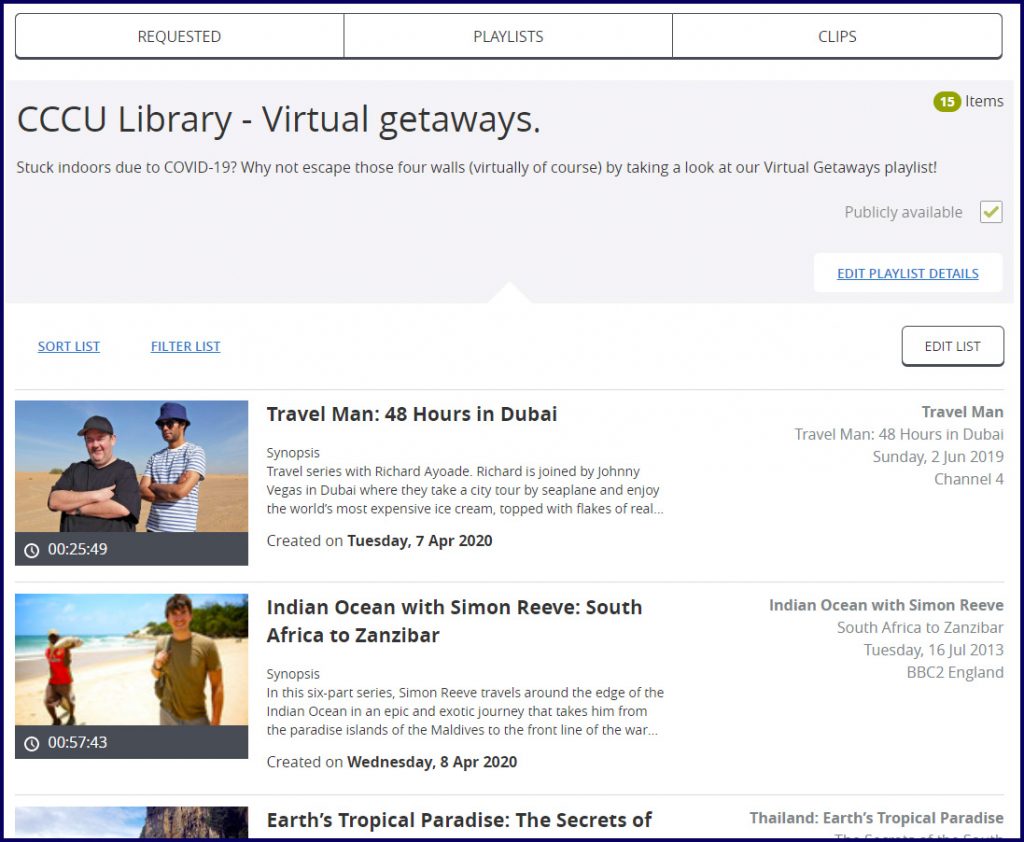
..and by clicking on the thumbnail image your complete playlist will be displayed giving you various options to sort and edit it.
Editing your playlist
So if you wanted to edit your playlist, here are some things you can do..
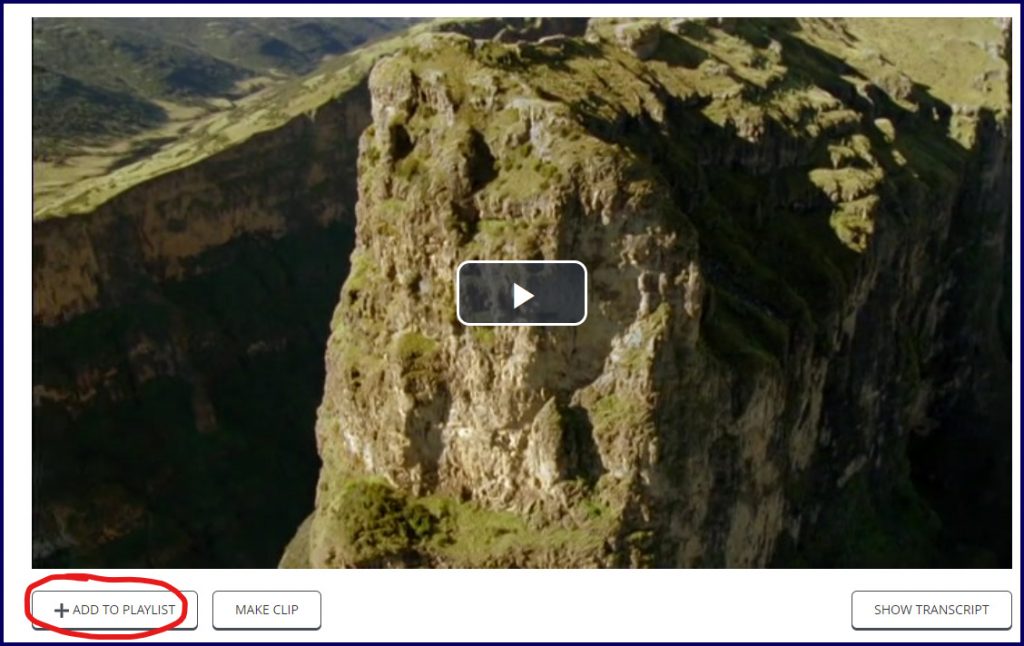
Adding items to your playlist – Once you’ve found an item you wish to add to your playlist, simply click on the “+Add to playlist” button under the video:-
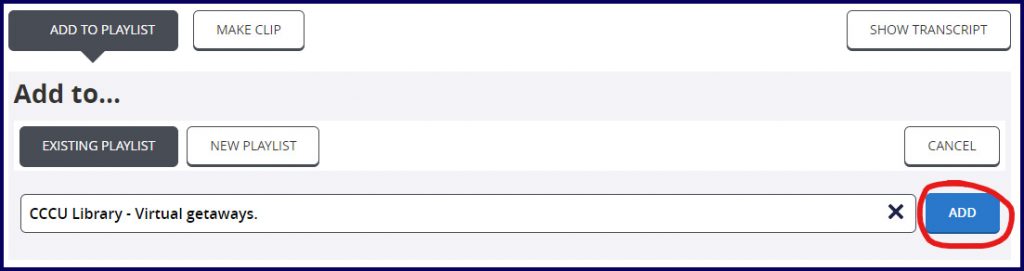
This will bring up the options below, Where you can either add the item to a “New playlist” or add it to a playlist you have previously created by clicking on the “Existing playlist” button and clicking on your playlist which will appear below the box..

..once selected you can then just click on the “Add” button to add the item to this chosen playlist.
Removing items from your playlist – So what if you decide to remove an item from your playlist? Just go to your playlists tab then follow the steps in the short video below to find out how.. (Click on the video and press the f key on your keyboard to go to full-screen mode).
Sorting items within your playlist – What about if you wanted to change the order of the items in your playlist? Again, just go to your playlists tab then follow the steps in the short video below to find out how.. (Click on the video and press the f key on your keyboard to go to full-screen mode).
Editing the title or description of your playlist – You can also edit the title or description of your playlist by clicking on the “Edit playlist details” button/ link as circled below..
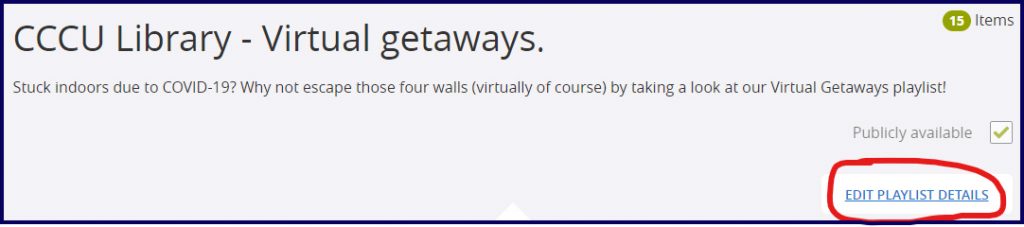
..This will then allow you to edit and save the title and/or description of your playlist as well as buttons to delete your playlist altogether or toggle between it being publicly available or not..
Once you’re happy with your playlist, you can share it with others by simply ensuring you have made it publicly available (see details above) then you can copy the link to your playlist from the top of your browser and send it to them:-
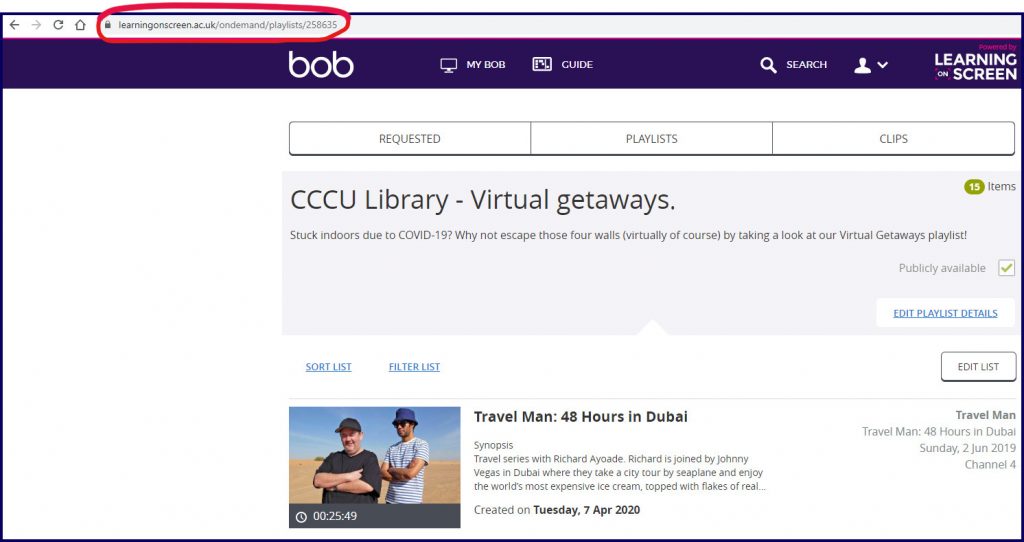
Either that, or they can search for a publicly available playlist by clicking on the search icon at the top of the search screen as you would for finding programmes to watch..

But this time, click on the option to search “Public playlists” rather than “Programmes”, type in the name of the playlist and click on the “Search option” button to open up the advanced options where you can search by modified date and even by institution..

Creating clips from programmes.
BoB is like a virtual video recorder and as such, sometimes, it may start recording a bit too early and you may find you have to sit through some adverts or even the end of the previous programme before you get to the start of the programme you actually want to see. Or it may be that there is just a section right in the middle of a programme that you want to refer back to but you don’t want to watch the entire programme or search through the programme to find the part you’re interested in. Luckily BoB allows you to create “clips” where you can choose your own start and end point and BoB will just save your chosen section of the programme as a clip, cutting out any unnecessary footage. Please bear in mind that the clip editor is not perfect and can’t always start the clip exactly where you intended but it can certainly help to get rid of most of the ads or extra material you don’t wish to see.
To start, let’s choose a programme from which we wish to create our clip.. you can find it by either searching or by using the guide as detailed earlier.
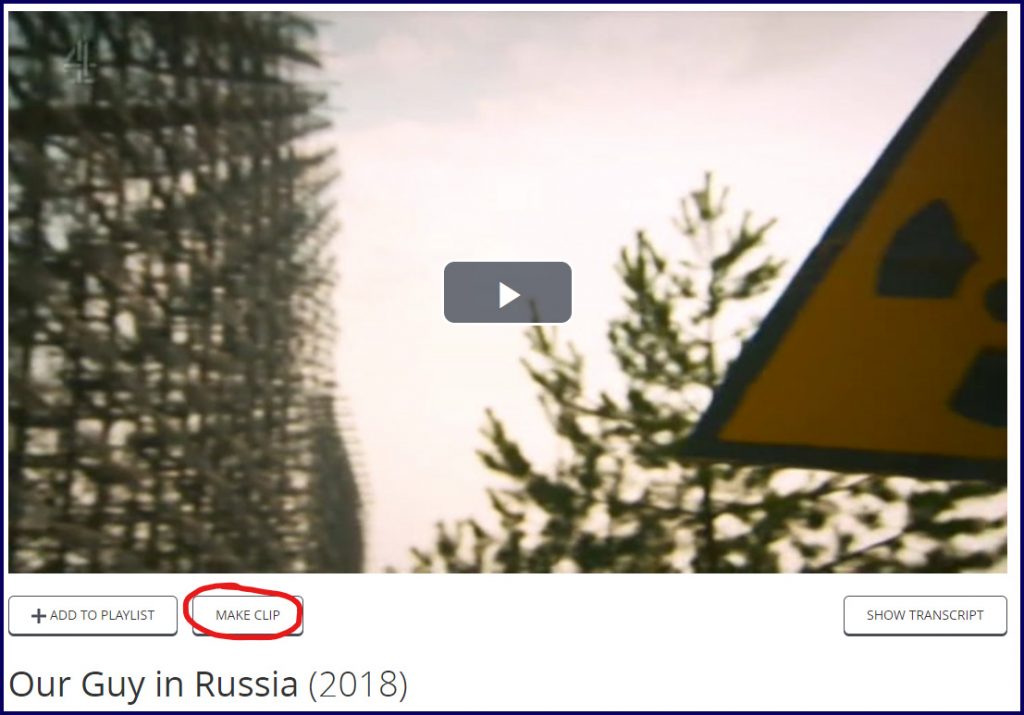
Clicking on the “Make Clip” button will take us to the following screen..
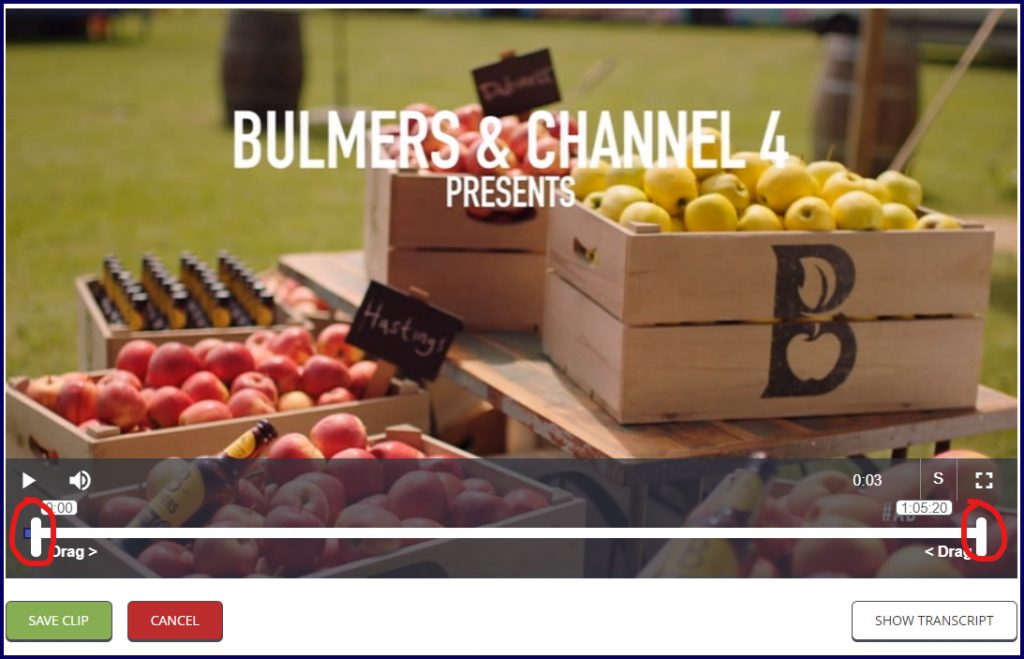
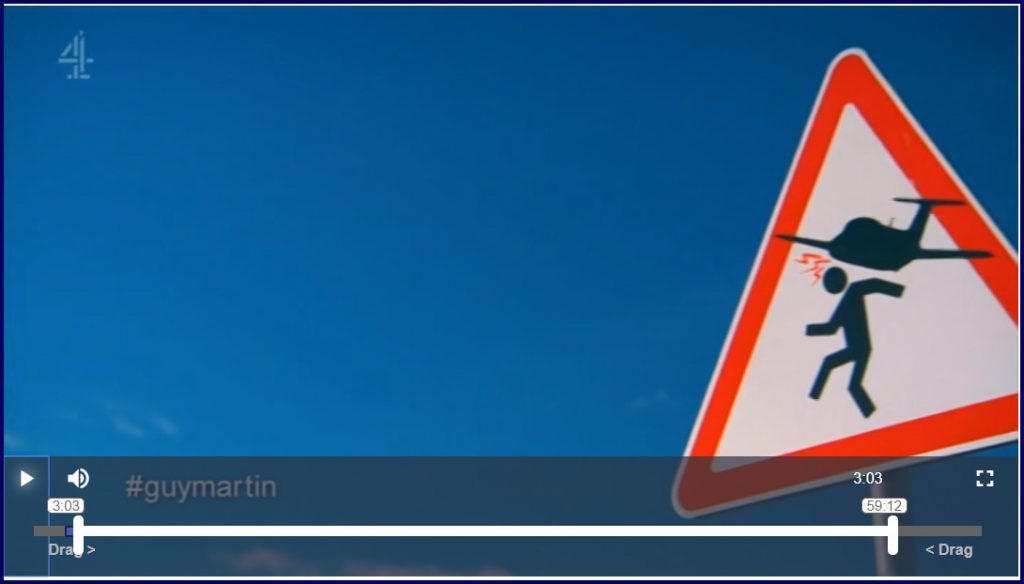
You can see that the video will display but with some additional markers (circled). The one on the left indicates the starting point for your clip and the one on the right, the end point. I usually press the play button first to view the programme and here we can see some adverts at the start which I don’t want, so I play through to get to the point where the programme actually starts, in this case at around the 3 minutes and 3 seconds mark. I then click on the the left hand marker and drag it to this 3 minutes and 3 seconds mark to indicate that this is where I want my clip to begin.
I then repeat this process by clicking on the marker on the right hand side and dragging it to where in the programme I want my clip to end, usually to just after the programme and end credits have finished.. You should be able to click along the white progress bar to advance the programme along so you don’t have to sit through the entire thing to find your end point..
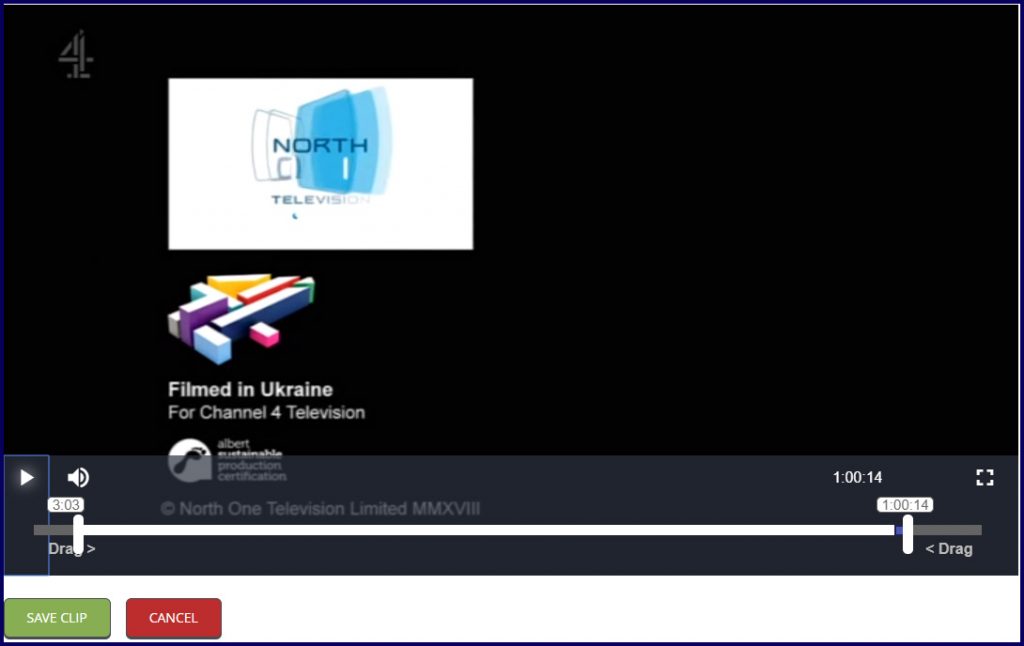
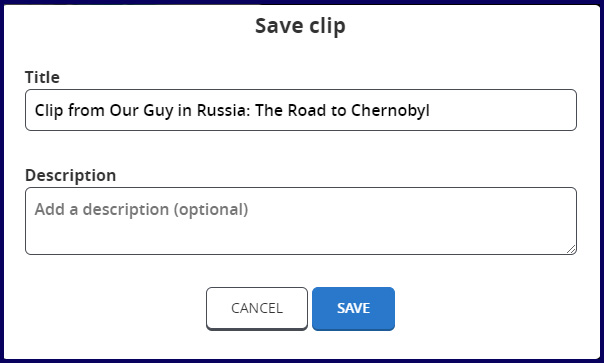
Then click on the “Save Clip” button which will then cut out the section of the programme between the starting point marker (in this case at the 3:03 mark) and the end point marker (in this case at the 1:00:14 second mark) and bring up a box for you to give your clip a title and an (optional) description. Enter these details then click on the “Save” button to save your clip.
A screen like the following will display giving details of your clip, along with options to “+Add to playlist”, where you can choose the playlist you wish to add the clip to, “Delete clip” if you no longer want it or edit the clip if you want to trim more from the start or end of the clip.
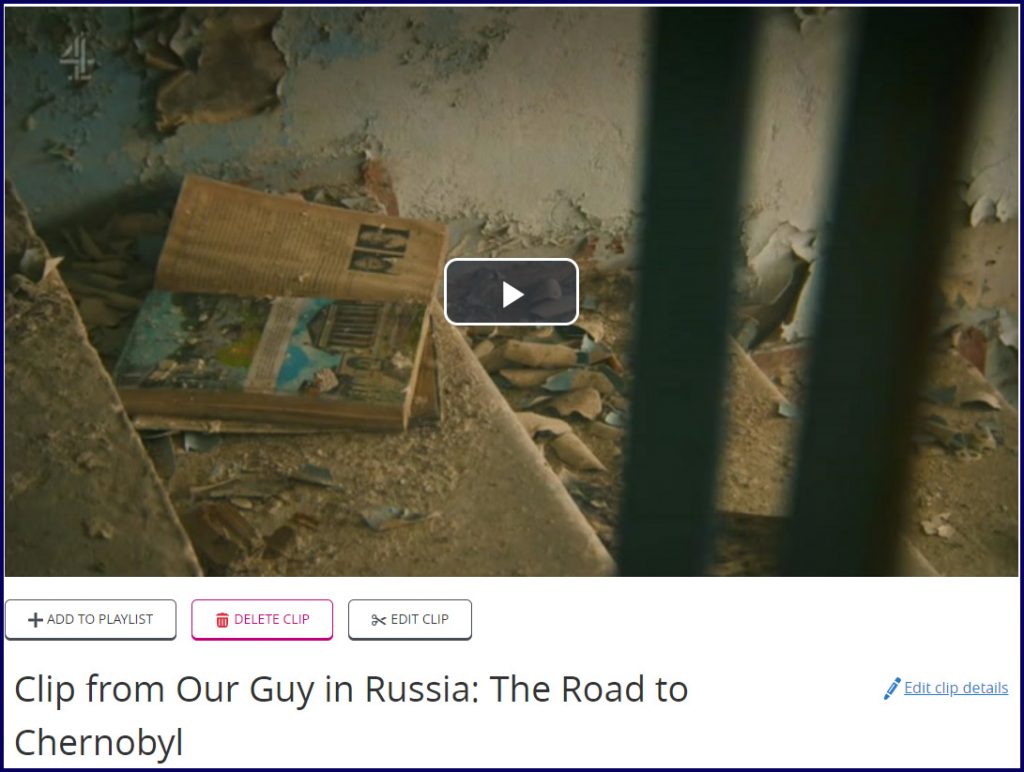
You also have the option to “Edit clip details” if you wish to rename it or add or amend the description of the clip.
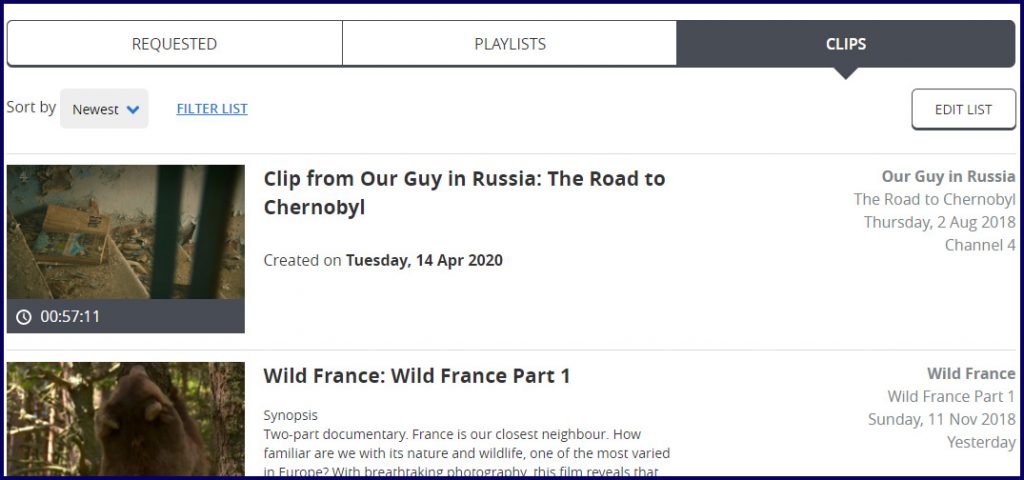
Once done, you can click on the “Clips” tab at the top of your Bob Screen to get a list of all the clips you have created.
Using BoB’s programmes or clips in your PowerPoint presentation.
So what if you wanted to actually use these programmes or clips in an actual presentation for you to show to others, perhaps to discuss?
Well BoB have actually produced their own video for this! and you can view it here.
I hope you have found these guides to BoB helpful. Why not give it a go yourself! and discover how useful this online tool can be for your studies and projects.
References
Canterbury Christ Church University Libraries (2020) Removing items from your BoB playlist. 27 May. Available at: https://youtu.be/tIp6JipTrOY?si=B0kxeKDMQTPF-xuA (Accessed: 11 October 2024).
Canterbury Christ Church University Libraries (2020) Box of Broadcasts – Sorting items within your playlist. 20 May. Available at:https://youtu.be/traetpZakTY?si=fStSAQlJztLx_uoY (Accessed: 11 October 2024).


Comment on “Box Of Broadcasts Part 2 – creating playlists and clips.”
Comments are closed.