 Michelle Crowther
 656
656
In this blog post, Gaynor Williams, Learning Developer for Arts and Humanities explains how you can use Blackboard Collaborate, the university’s online collaboration tool. You can download a PDF version of her guide at the bottom of this page.
One of the changes since the University moved its learning and teaching online is that you may be invited to engage in your learning activities (tutorials, seminars, workshops or lectures) using the video conferencing tool Collaborate Ultra in Blackboard. Using this tool, which offers an online or virtual classroom, is new to many members of staff as well as students so we are all learning together.
So how do you find your way to your new virtual classroom?
You will be invited to join a Collaborate session via a link. This link will usually be shared by the member of staff organising the session, either in an email or it may be posted on your relevant module Blackboard. The link will look something like this:
https://eu.bbcollab.com/guest/344b620a82f141e58c543acd77171642
There are a few things you will need to prepare for your Collaborate Ultra session
The first step to getting ready is to participate in a Collaborate session is to open Google Chrome on your device as this is the web browser which Collaborate Ultra operates in most effectively.
Secondly, you will need a microphone or headset so that you can communicate with your tutor and fellow learners. Thirdly, if you have one, you may also wish to use a webcam so that the other participants in the room can see you, but please remember this is not essential.
So, you are ready and waiting, with microphone (and webcam) in Google Chrome a few minutes before your session is due to start, what happens next?
You will find that joining your session is very straightforward. When you are ready to join the session, just click on the link you have been sent.
https://eu.bbcollab.com/guest/344b620a82f141e58c543acd77171642
You will now be invited to type your name as you join the session as a guest.

Welcome! The virtual teaching room will now open in a new browser window.
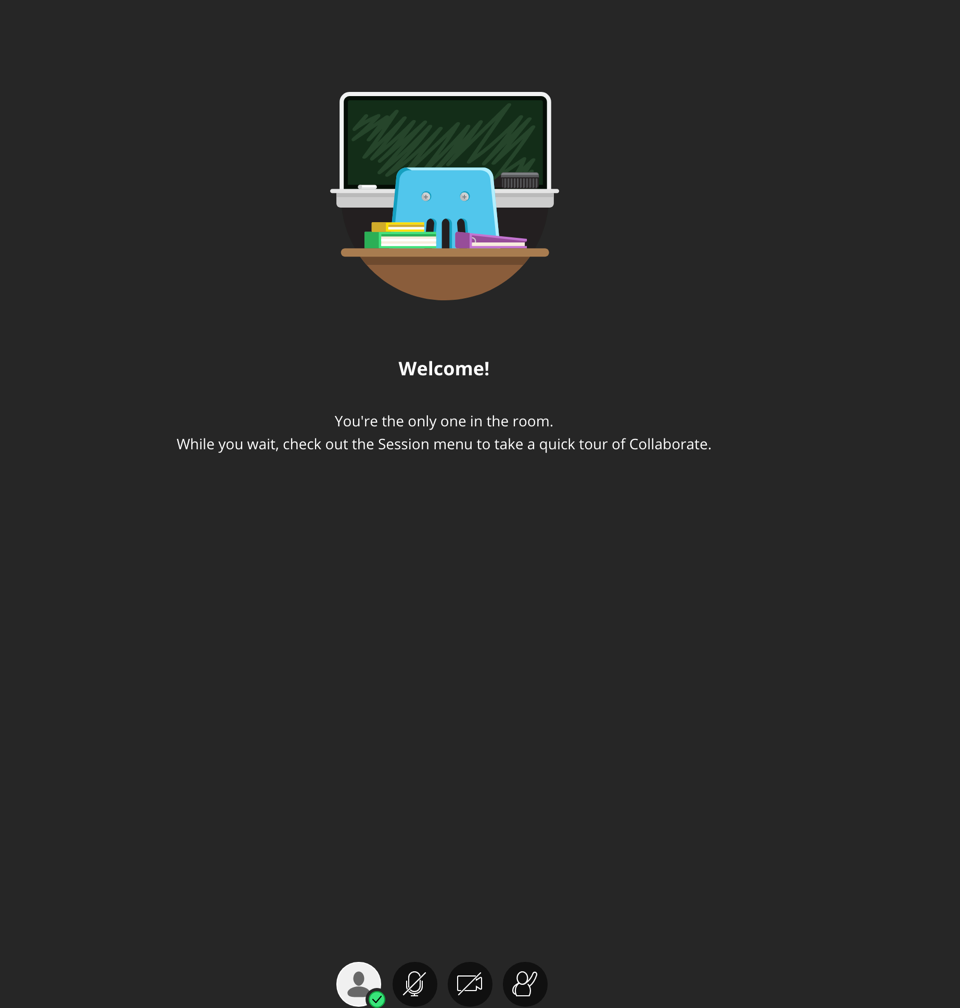

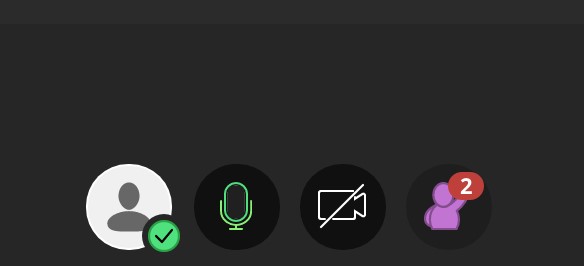
Once you are in the room, you can share your audio, and if you choose, your video, with the other members of your group. To do this, click on the microphone and the video icons at the bottom of the screen. Now the other participants can hear you and, if you choose, can also see you.

Now you are in the teaching room, you can begin to explore. Have a look at the right-hand bottom corner of your screen. Here you will see a violet tab.
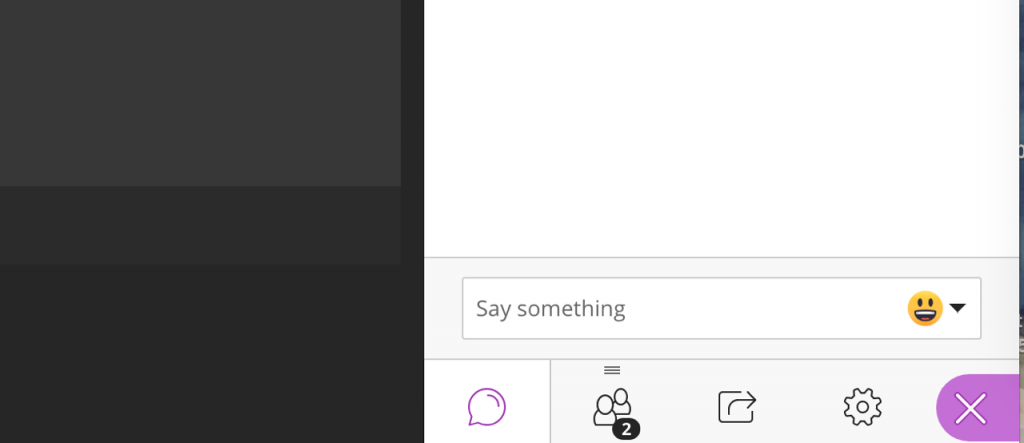
There are four features to explore –
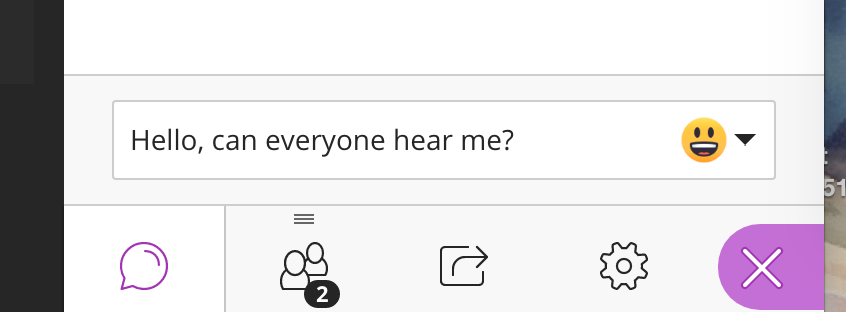
Chat feature: Can everyone hear me? The first symbol here is a chat feature. This is basically a chat function which means you can use it to communicate with other students and your tutor.
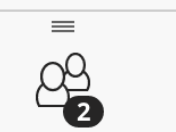
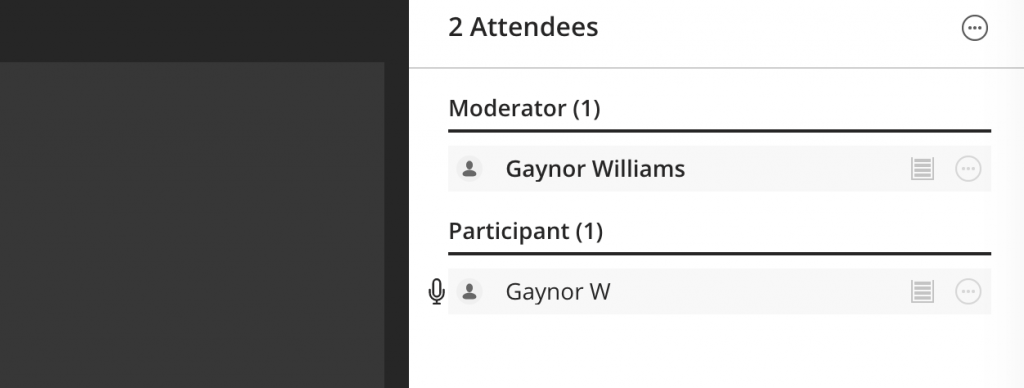
Participants: Who else is in your virtual teaching room? The second symbol will tell you about the participants in the room. Here you will see the tutor’s name and the names of your fellow students as they join the session. The member of staff running the session is usually called the moderator.

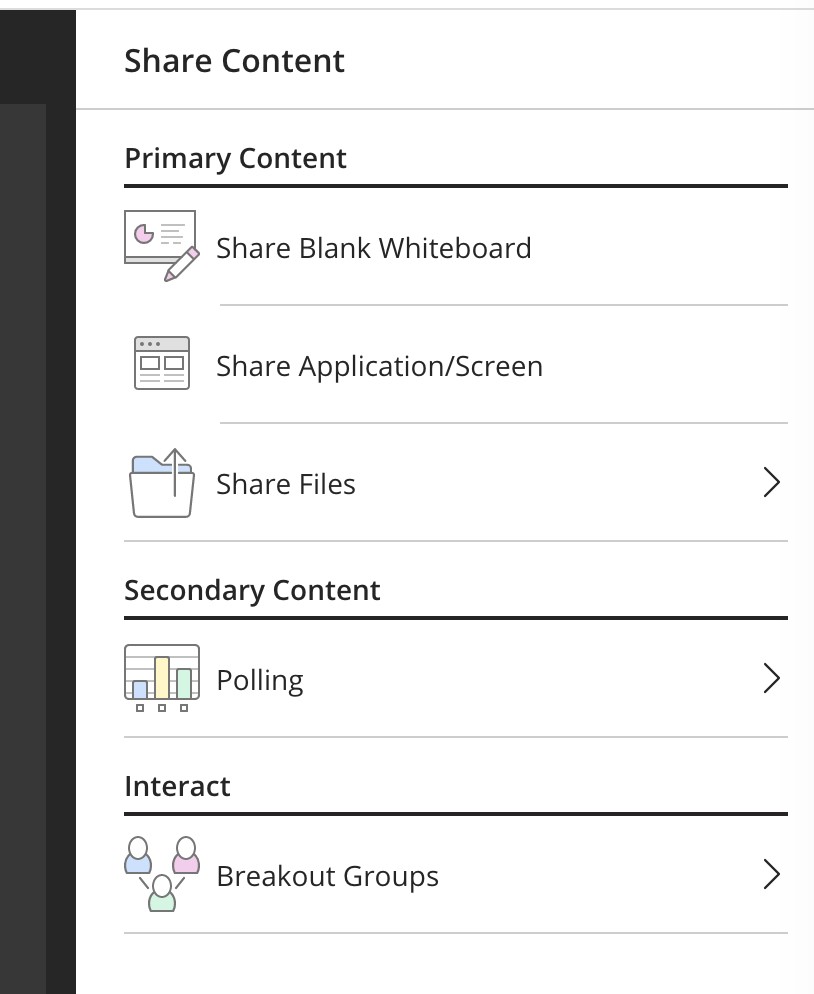
Sharing area: What else can I see? The third symbol is the one for the sharing feature. This is a feature which enables the moderator (usually your tutor) to share content with participants. This might be a document you are discussing in the session or a PowerPoint you are all working through. Other features here include the opportunity to participate with others in small breakout groups.

My settings: Is everything okay my end? The fourth symbol is one for the settings feature. Here you can check out things like your webcam and microphone.
Now you are in and have had a look around, enjoy your session!
I would like to ask a question. How can I let my tutor know?
If your Collaborate session is a class rather than a tutorial, you may be wondering how everyone will be able to make a contribution. It could get quite noisy in your virtual classroom. A special feature in Collaborate means that everyone will get a chance to listen to each other and to contribute to the session.
How does this work?
Next to the video icon, there is a person icon with their hand raised. This is a special feature which allows your tutor (the moderator) to see that you would like to ask or answer a question.
When you click on this icon, the moderator will see a message indicating that you wish to make a contribution.
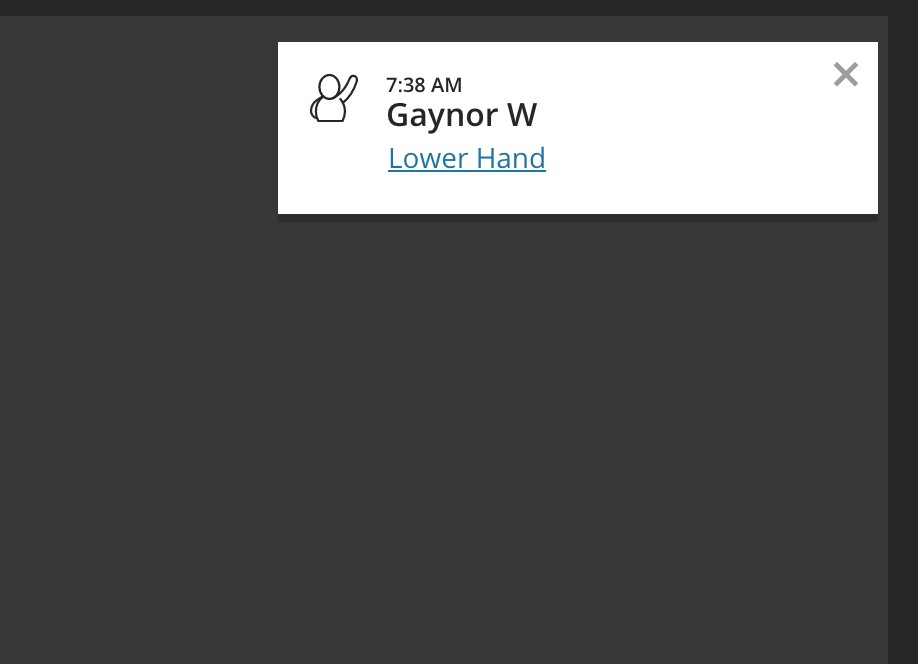
You can lower your hand by clicking on the person icon again or the moderator can lower your hand once they know you have had the opportunity to speak.
It’s over now, how do I leave the session?
When the session is over, you can leave by clicking on the tab in the top left corner of your screen. This will open and give you an option to ‘Leave Session’.

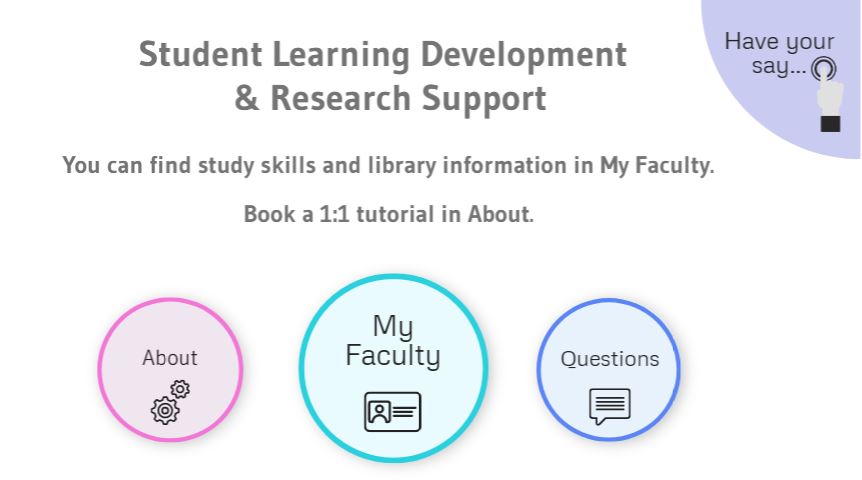
And can I book a remote 1-1 for learning support?
The Student Learning Development and Research Support team is using Blackboard Collaborate Ultra to work with students and staff while the University delivers learning online. So, don’t forget that you can book an individual learning tutorial with your Learning and Research Librarian or your Learning Developer, by visiting the Student Learning Development and Research Support Blackboard (click on the image below or on the Student Support tab in your Blackboard) and following the guidance there.
Please click here to access a PDF version of the guide.


